NASA’s squishable robot ideal for planetary exploration | Digital Trends.
Category: Robotics
-
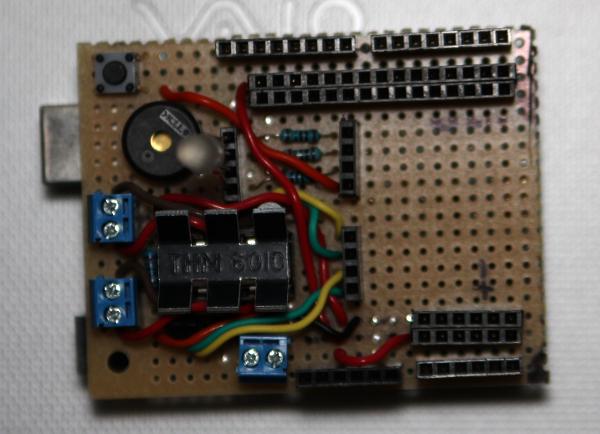
RoboShield Prototype part 2
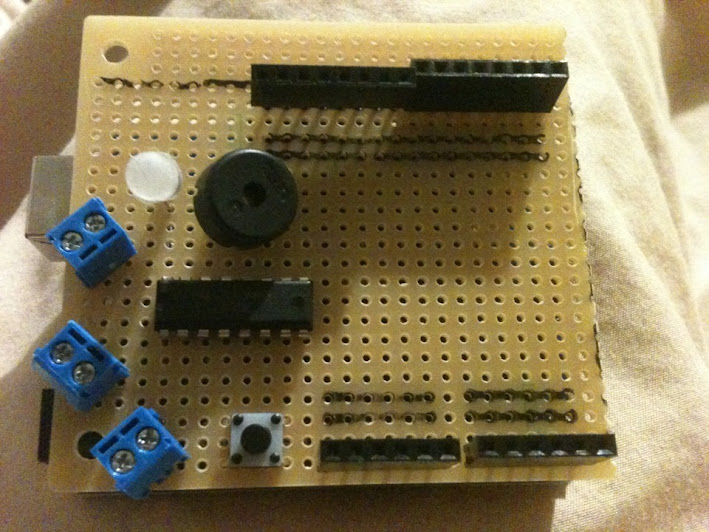
Here is the finished prototype of the RoboShield, a robotics daughter-board for the Arduino microcontroller. Here’s the tour:
- upper-left – reset button
- bottom-left – motor control h-bridge including 2 motor outputs and one motor power input
- left above motor controller – piezo buzzer, RGB LED, and current limiting resistors
- top-right – the Arudino’s 14 digital pins along with ground and 5v busses
- bottom-middle – the Arduino’s power header
- bottom-right – The Arduino’s analog inputs along with ground and 5v busses
- center running vertically – patch bays that allow assignment of the motor control, LED, and buzzer lines to any of the Arduino’s digital pins.
The empty space on the middle-right could be ued for servo motor connects. I’m still trying to decide if I need them.
Because all the component control lines on the board are routed to patch bay headers you have complete control of which Arudino pins you use for what. Also if you’re not using a component it doesn’t need to be taking up any pins
The ground and 5v busses spaced away from the input pins is an idea I borrowed from the MIT HandyBoard that was popular in hobby robtics several years ago (circa 1995). In many ways it was the progenitor of the Arduino
Here’s a page that explains how to connect various sensors to the Handyboard (and now the Robo-Shield as well).
-
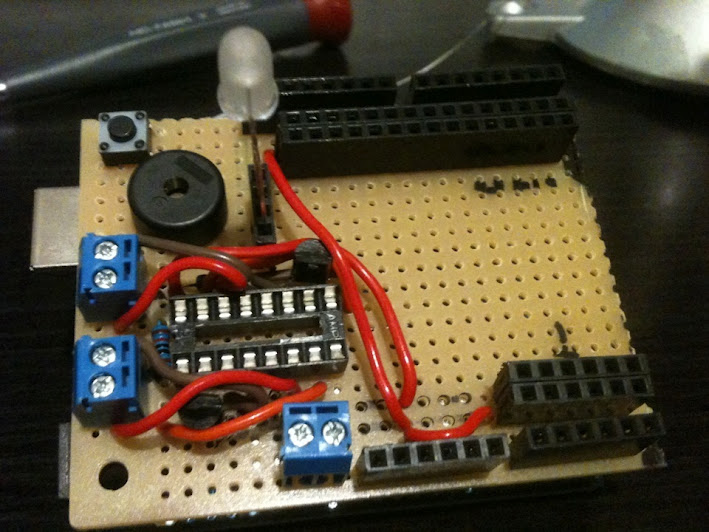
RoboShield Prototype part 1
Here is the first set of components, connectors, and wire on the prototype RoboShield daughter-board for the Arudino microcontroller. The bottom-left quadrant of the board will be an h-bridge motor controller to drive two robot motors. Above that is a piezo buzzer and three-color RGB LED. The connector blocks on the uppper edge and the bottom right provide access to the Arduino’s input/output pins as well as ground and 5v buss lines to make interfacing sensors quick and easy. More on this soon…
-
RoboShield for Arudino – Component Layout
Laying out the components for a robotics shield for the Arduino microcontroller. Here is the first step in designing a robotics daughter-board (the RoboShield) for the Arduino microcontroller. I’m just laying out the components and marking things up in Sharpie to get a feel of how to use space on the tiny little board (it’s about the size of a business card).
Once this is designed and tested it will greatly simplify building the Ard-bots we use for the Arduino Robotics class.
-
Intro to Arduino Class (round 3)
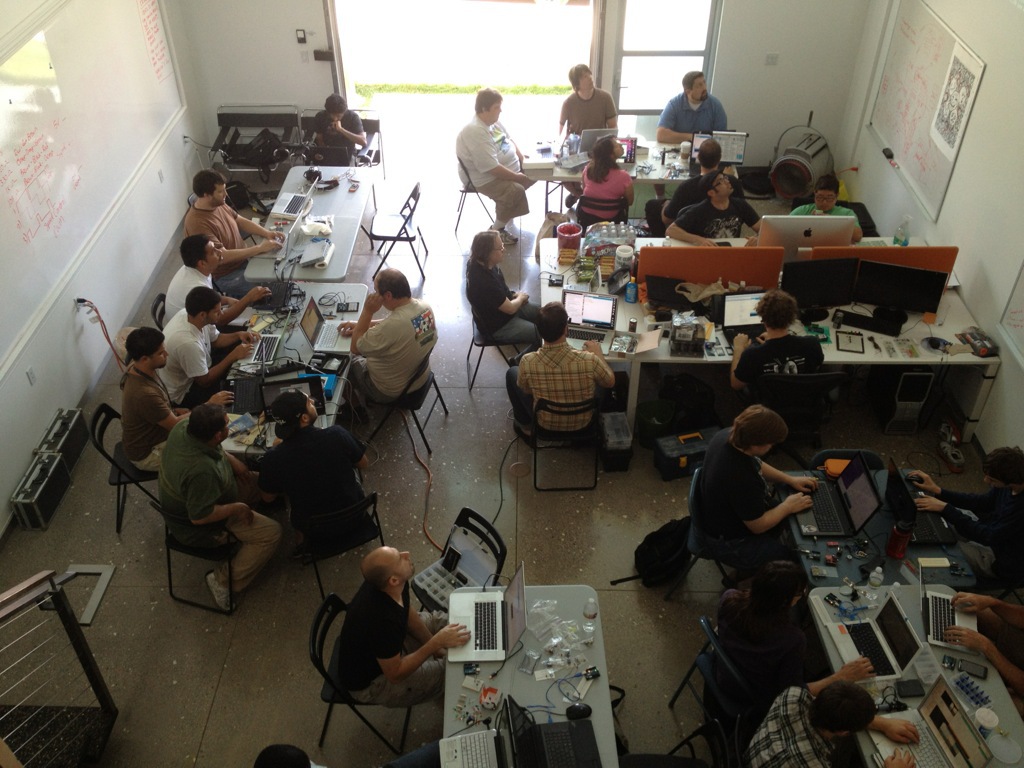
Round 3 of the Intro To Arduino Class for L.A. Robotics Club Last week’s class had such a turn-out that we had to split off a another session this weekend for 40 more students. It’s fantastic to see so many people interested in Arduino and microcontrollers / robotics in general. Teaching these back-to-back definitely helped me refine my presentation as well.
Here’s more student feedback:
I thoroughly enjoyed this class, and the level of professionalism in which it was presented. I appreciated the pace of the class, the constant check for any questions and/or extra needed help (and immediate help was offered). Thank you all who helped make this possible. I very much look forward to the next class with the L.A. Robotics Club. Again, thank you!
– Brian J.Great little introductory class. I was quite surprised at the turnout!
– GuyI really enjoyed the class. I look forward to an intermediate and advanced class.
– JulieSorry that I was late, but the information and the pace of the instructor was spot on.
– Michael C.Awesome class, As an intro class I especially liked how no one was left behind. If some one was stuck, Michael made an effort to get the person up to speed. My friends and I are will defiantly attend the next arduino class. Thanks to Michael, Annika, Tim and the rest of the group.
– Alexis A.That was awesome. Thanks……!
– Brant L. -
Intro to Arduino Class (round 2)

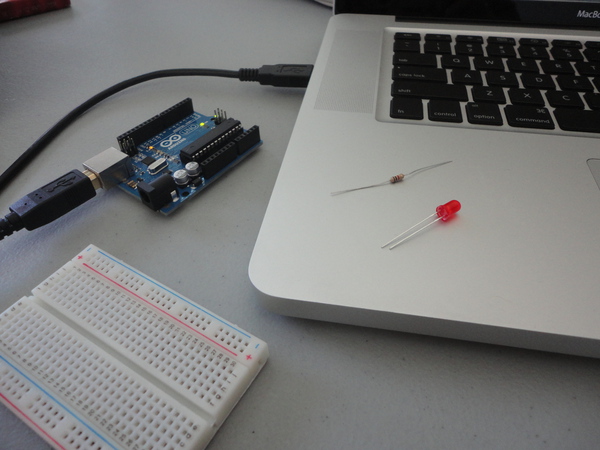
An Arduino microcontroller and it’s best friend 40 more students learning Arduino for the first time. This was my second time teaching the materials that will eventually be the YouTube tutorial videos. This one went really well and the new meeting space at Black Design Associates is awesome! Special thanks to Annika O’Brien, founder of the L.A. Robotics Club.
Here is some student feedback:
This was exactly the right level and pace for an intro Arduino class. I really enjoyed it and everybody was ready to learn.
– Barry B.Wow! What a great class. Michael is a fabulous instructor. Thank you Annika and Michael 🙂 Looking forward to learning more with you.
– Staci T.Fantastic class. Clear, concise, well thought out. Thanks! Can’t wait to continue.
– Mosa K.Except for a few times when it was too noisy to hear anything, it was the best ever. There was a lot of reasons why, not just do it this way.
– Tim L.I learned a ton!
– Andy E. -
Intro to Arduino Part 2 – Build a Robot!

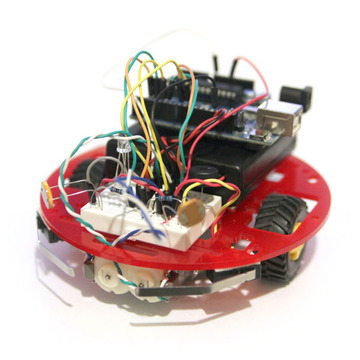
Ard-bot: A complete robot kit for use with the Arduino microcontroller. Just finished teaching a full-on robotics building class to 40+ students in Pasadena for the L.A. Robotics Club. This was a follow-up to last month’s Intro to Arudino class. Had a great time building table-top turtle robots using Arduino microcontrollers. The “Ard-bot” was a great success:
I had a great time. Everyone was extremely helpful, which was great, because it was the first robot that I had ever built.
– Leonard R.Well organized. Good pace. productive. Fun!! Where else can you get a working programmable robot in just a few hours?
– David V.The “Build a Robot” class was a fantastic idea to get beginners started on robotics. By the end of the day, I had built a robot on a platform can easily be extended with sensors and new movement patterns. Looking forward to more!
– Gene D.Best class yet
– John W.Great kit, instructions, and planning. Thanks to all the organizers.
– Kevin C.It rocked my socks!
– Joel C.